It can be done. A whole laundry room makeover can happen for under $100 and look fantastic! My blogging friends and I decided to challenge ourselves to makeover a space in our home for $100. This is my very first $100 room makeover challenge so I was nervous at first. $100 can add up fast and our laundry room needed a rescue. It turned out to be refreshingly gorgeous! This post contains affiliate links for your convenience. Click here to read the full disclosure policy.
Laundry Room Makeover:
Our laundry room doubles as our entryway so it gets tons of traffic every day. It’s been an eyesore since the day we moved in and quite an embarrassment when we have company. I try to just keep the door shut and hope no one mistakes it for the powder room door. Real talk…This is what I used to see when I’d walk in from the garage. Clothes, shoes, gloves, scarves, sports equipment, doggie bags, leashes, keys, lint, tools, library books, you name it. It just became a junk dump in serious need of a makeover. 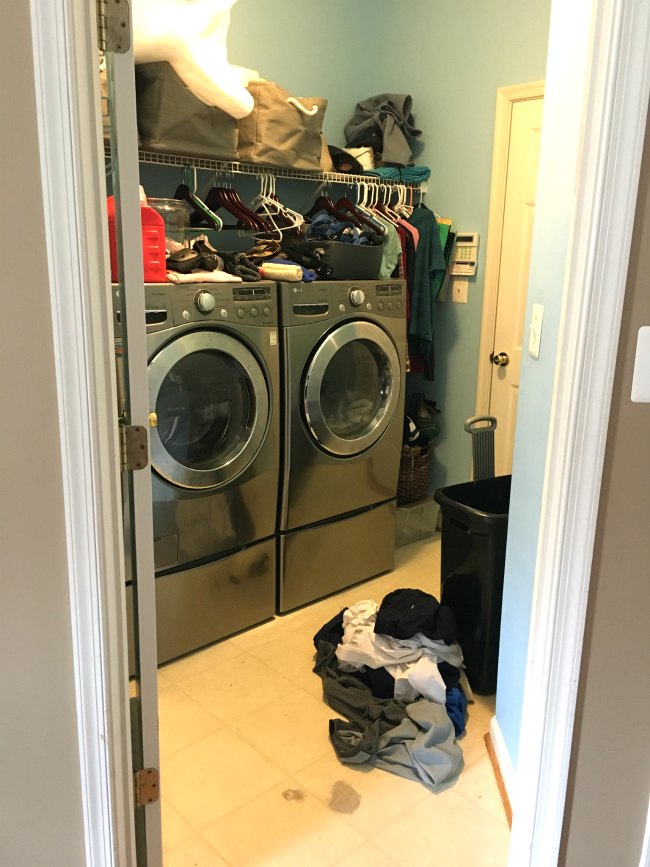 Now that I finally gave it a facelift, it’s so nice to come home (most likely with armloads of groceries) and be greeted with a calm, peaceful space.
First on the Agenda:
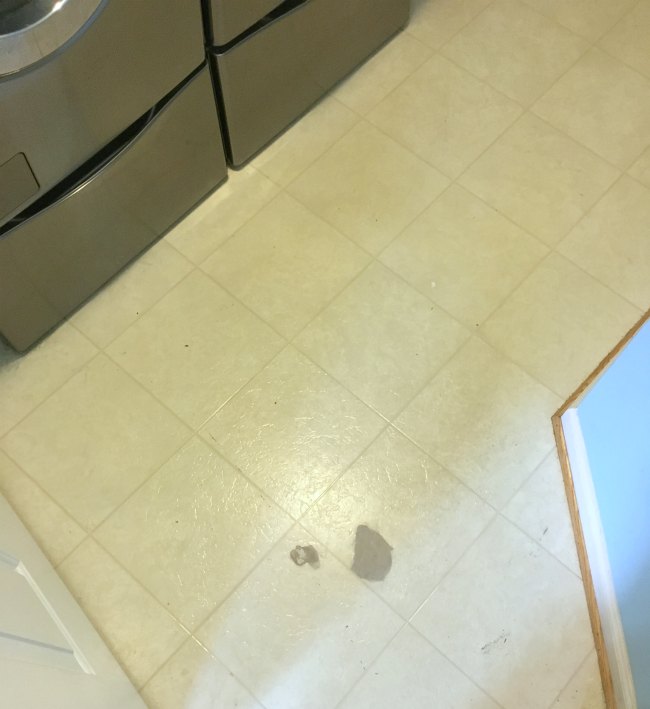
WALLS! I know some people love the cotton candy blue color. I do not. It’s not my favorite. It screams, “Circus!” to me. So, I knew if I was going to start somewhere in this laundry room makeover, it HAD to be the walls. My favorite wall color is Sherwin Williams’ Kilim Beige. It’s just the right amount of lightly warm neutral to feel soothing and inviting. You can see where I used it here to paint our whole living room in minutes with my magic paint wand. 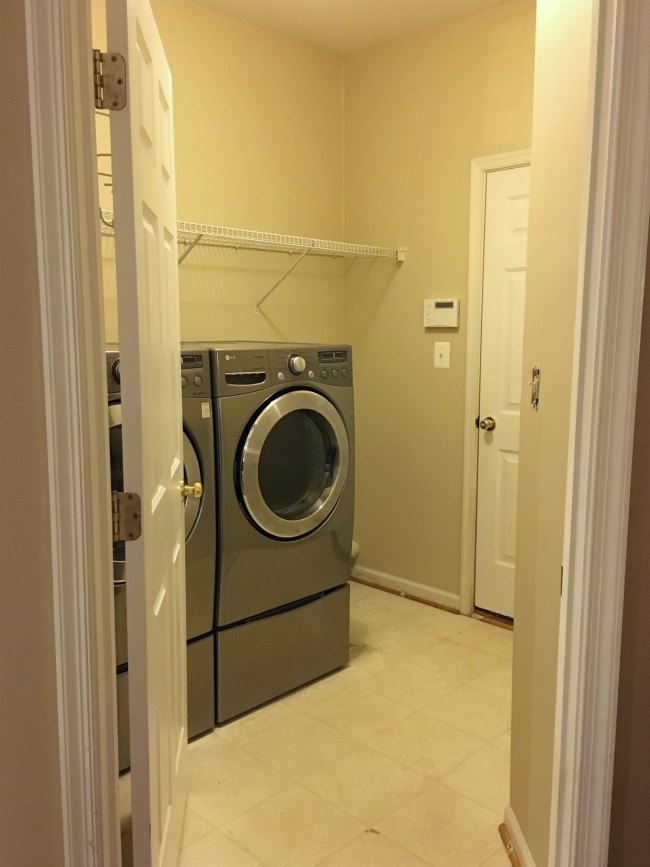 Even just a coat of paint made a huge difference. I wanted to just stop there but the floor was making me rageful. The previous owners left us a laundry room floor with a huge hole in the linoleum. Yuck. I’m guessing, iron?
Up Next:
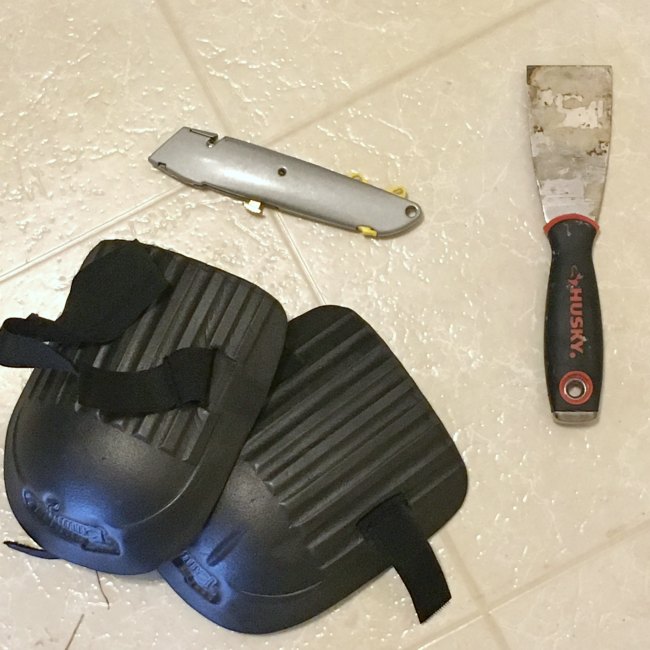
My MIL just had her kitchen refinished, including her pantry. I saw the gorgeous tiles on her pantry floor and knew they were JUST what I needed for my laundry room makeover. Peel ‘n Stick tiles have come a long way. These turned out so nice and look just like real tile. I did some basic math to figure I needed 60 tiles. Given the high traffic area, this is the perfect flooring idea. They look and feel just like real tile, except they’re WAY easier to install than real tile. 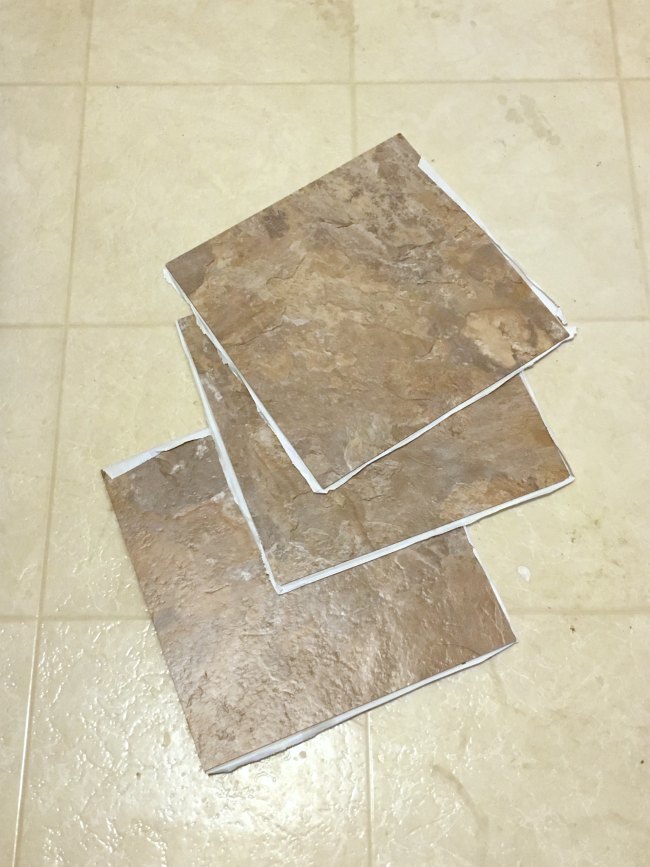 I first removed the quarter trim with a scraper and made sure to label each piece with tape so I could remember where it goes. Then, I cleaned the floor really well and let it dry. Next, the tiles literally just peel and stick. It was a bit of a job to make sure each tile laid perfectly straight. But, after sticking the first 3 tiles, they all lined up just right. They also cut super easily with a box cutter to fit the corner pieces. My knees thanked me for digging out my knee pads for this job!
Finishing Touches:
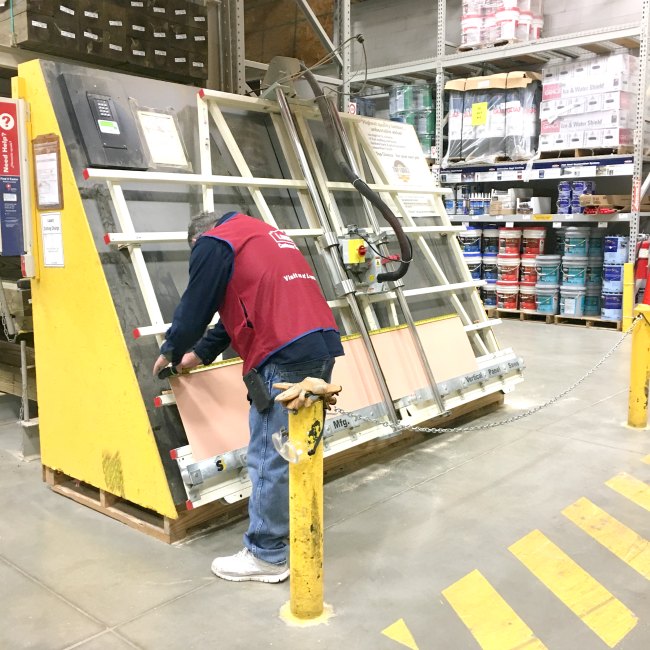
After the walls and floors were done, the room already looked dramatically better. However, that wire shelf was sticking out to me. 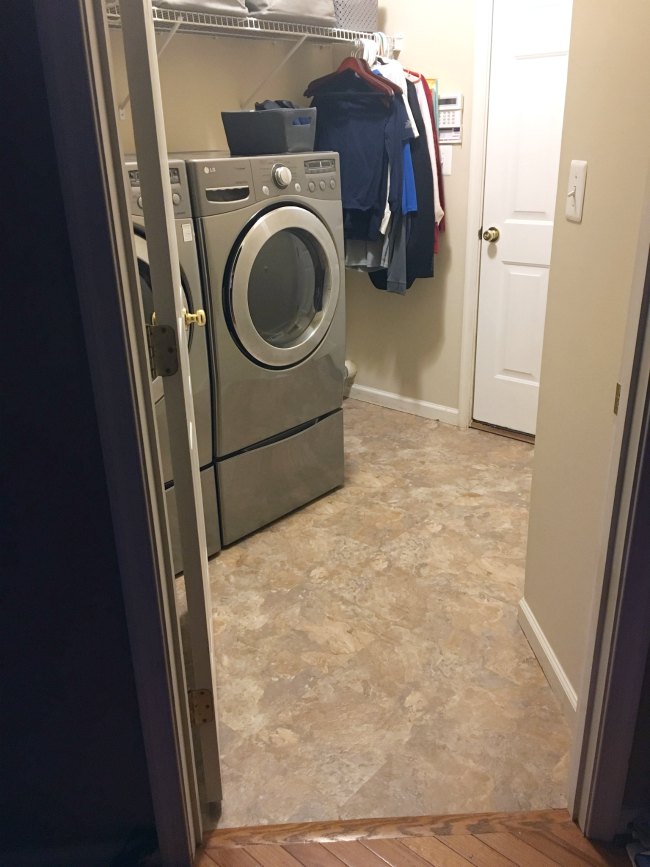 I didn’t want to remove it since we use it to hang up shirts out of the dryer. But, I was over the white wire. Got to go. Since it’s so sturdy, I decided to use the white wire shelf as the “bones” to hold a wooden cover to make it look like the whole shelf was made of wood. Back to Lowes for some wood. I love this man. He looked at my silly drawing of what I needed and made it happen.
 Just two pieces of wood, some “L” brackets and some stain are all I needed to give the shelf a whole new look. Since the wood pieces were very soft and thin, the screws went in with just a screwdriver.
 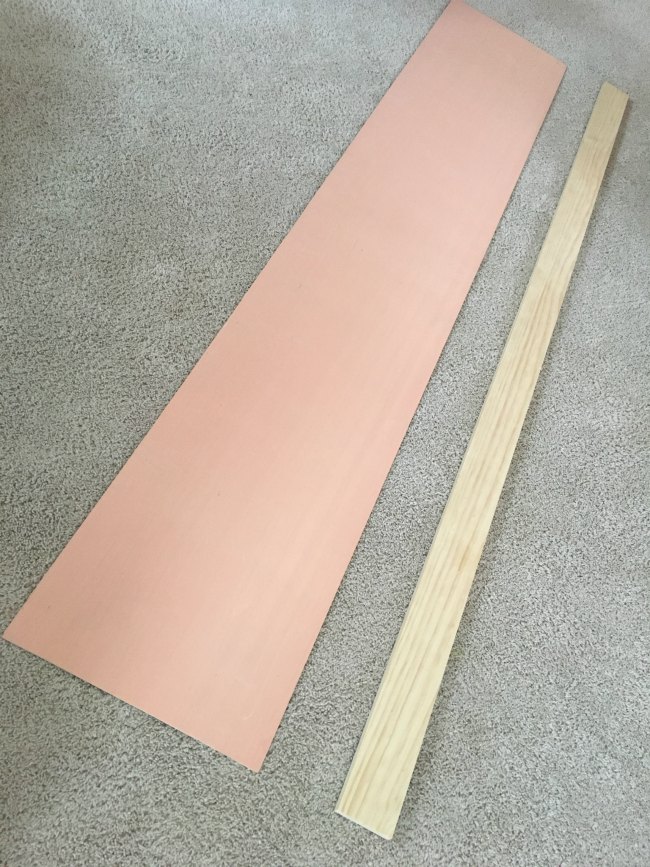 No! My carpet is not this dirty. I promise its a shadow from the sofa. Yikes!
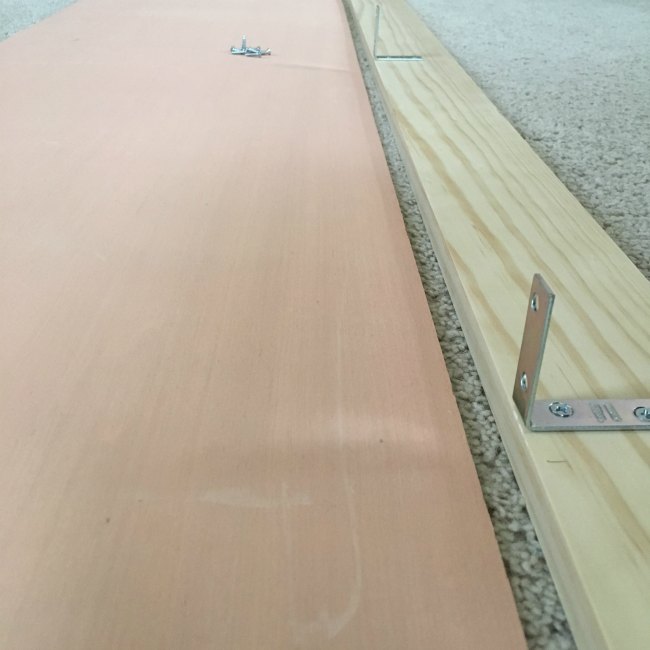
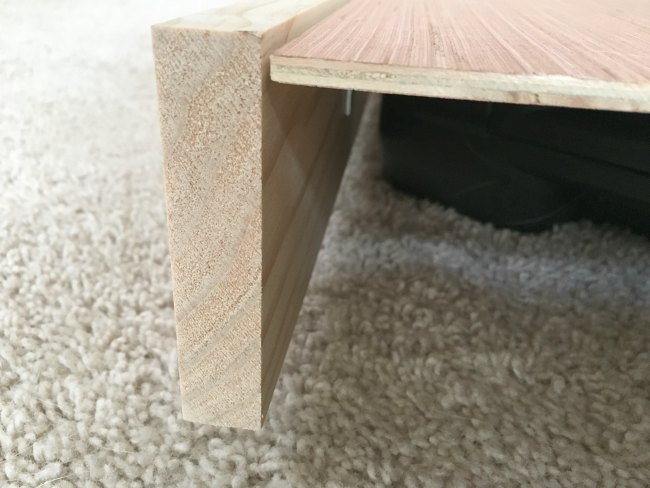 After the two pieces were joined with the L brackets, I fit the faux shelf over the white wire shelf. Yes, OVER! This project was almost too easy.
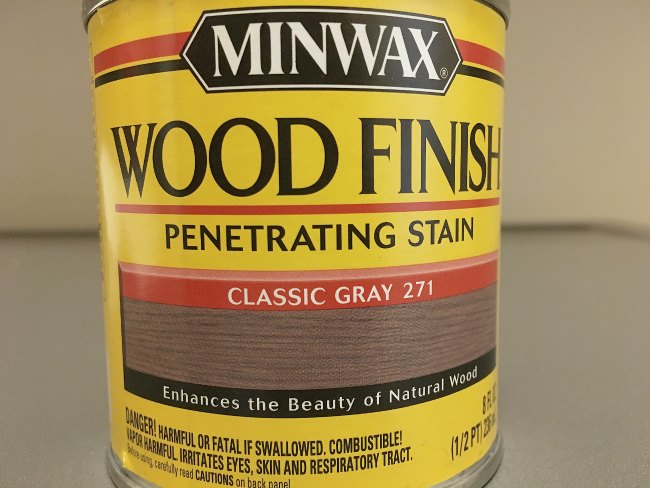
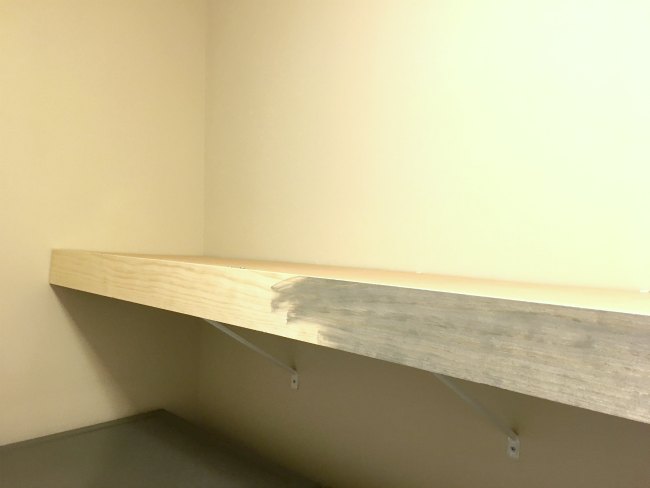
 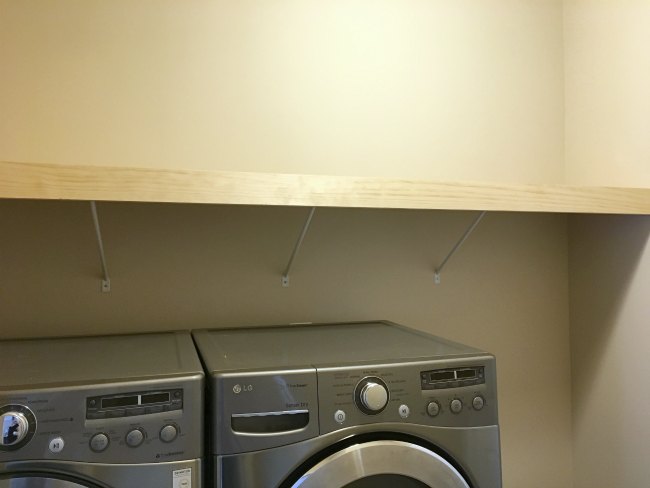 After it was in place, I went over the front with some “Classic Gray” Minwax stain. I love the look of the gray wood stain with the gray washer and dryer.
  Somehow the floor also brings together the wall and washer colors. I never thought I’d be decorating around a washer but hey, it turned out just right.
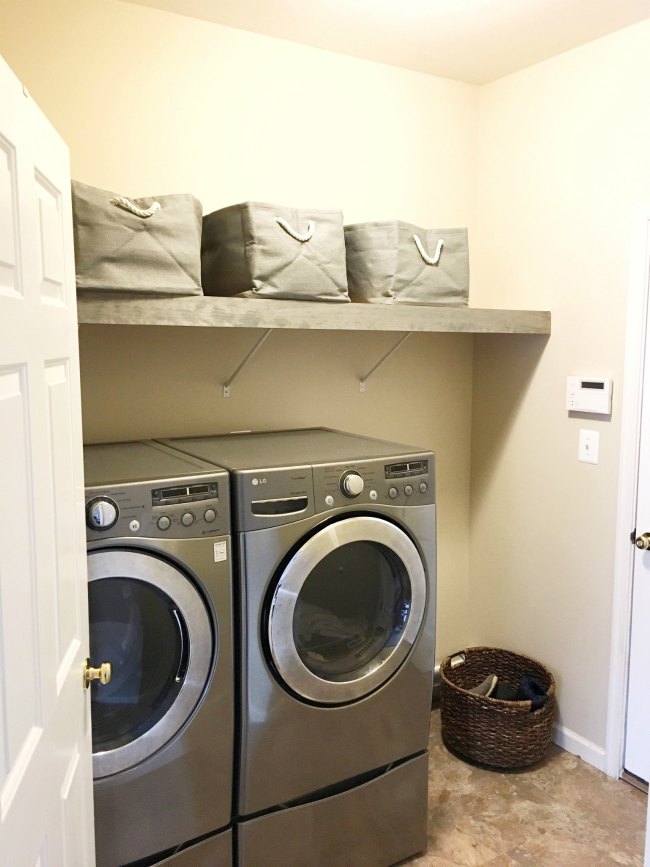 The baskets on the shelf are HUGE and hold tons of stuff like paper towels and beach towels. You can find the textured baskets here.
Before and After:
The difference is dramatic! I feel it every time I enter our home. Also changing the bulb to a daylight light bulb got rid of the yellow glow in the room. For less than $100 and lots of elbow grease and muscle (moving washers is not easy), I’m in love with the change. 
Cost Breakdown:
Laundry Room Makeover Paint: I bought a 5 gallon bucket with a 30% off Sherwin Williams coupon for repainting a few rooms in the house last summer. So, I’m guessing I used about a half gallon for this space. $18 Floors: 60 Armstrong floor tiles. $53 Shelf: (Wood, brackets, stain) $13, $4, $5 Light: Daylight bulb $6 Total: $99 
Most Recent Post:
Easy Easter With The BEST Ham Ever!
Save to Pinterest:
Sarah, you were so clever to cover that wire shelf. Your laundry room looks so fab now!
Have a great weekend!
Hey Lisa! Thank you! It’s a dramatically different feel when I walk in there now. I don’t feel my blood pressure rise any more when I open the door. Ha!
Looks so much nicer! I love the idea of using what you already have to your advantage (:
Hi Gina! That’s so true. I ended up really loving the way this turned out. It was all in my head and I wasn’t sure how it would look when finished but I was pleasantly surprised when it all came together.
Great laundry redo! Good idea to cover that wire shelf; makes a total difference! It looked pretty good before but I’m guessing you’re feeling more calm in there now! Whatever helps to make laundry more fun, right?!
Hi Victoria! Yes and Yes! I actually enjoy walking into this space now. Before, it was literally a dump and such an energy zap.
Sarah what a great job you did. What an improvement over the original, everything 🙂 Super brilliant t cover that wire shelf and still be able to hang stuff. The floors look great, I need new tile in my front bathroom and have considered the peel-n-stick version for simplicity and cost.
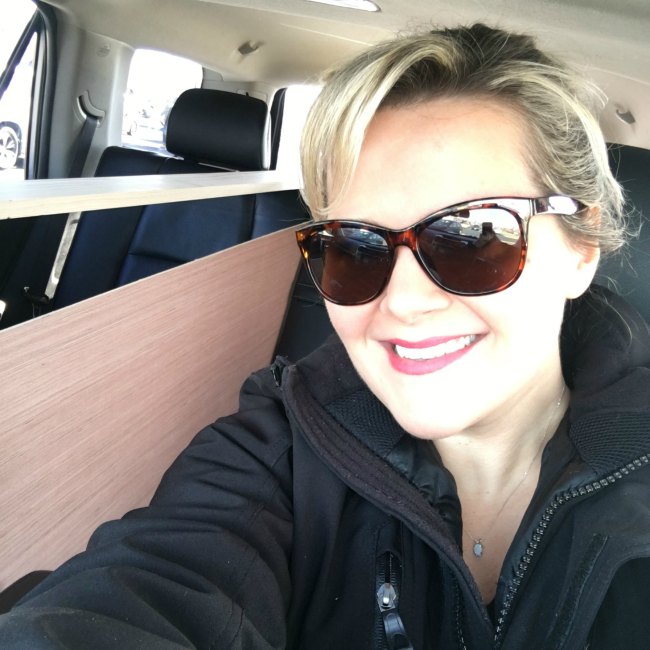
Oh and you are super cute in your car with the lumber purchase, I’ve done that sooooo many times 🙂
Hi Toni! I was skeptical at first but once I saw how nice the tile looked in my MIL’s pantry, I was sold. It has held up beautifully over the last few weeks and it’s super easy to clean. If you want the grouted look, they also have a groutable peel n stick option. Big impact for little $
Awesome job Sarah! Those floor tiles were a great idea, and made such a huge difference!! And I love what you did with the shelf too!
Hi Stephanie! Thank you. I agree- once the flooring went in, the room started to shine. Thanks for stopping by ❤️
This is an amazing transformation! I love your idea to cover the wire shelf! I may need to do that in my closet – wouldn’t have even thought of it… Rock on girlfriend!
Thank you, Sarah! It’s no longer an eye sore when I walk in to do laundry. I can’t wait to check out your master closet 🙂
Sarah….what a transformation. Those tiles and the wall color really make a huge difference.
My goodness, Sarah what an AMAZING transformation! I love every detail and I’m sure you love having your room so stylish and organized. Great job!
Thank you, Kimm! Yes, it’s like a laundry haven now 😉
Sarah your laundry room looks so clean and fresh! Covering up the wire shelf is GENIUS! I have wanted to try the peel and stick tiles for our bathroom, after seeing yours I think I may just have the courage to do it. Great makeover!
I Used those peel & stick tiles in a rental property we have, and it looks exactly like slate floor, such a great product! I love the color of yours, and the wall color is perfect! That shelf cover I have decided, is my nbext project for my pantry!! Way to go, girl!!!
Great make over. I really like your storage bags, I’ve looked using your link to Amazon, but their largest is about 17x12x12. Yours look bigger than that. Can you give me measurements to look for? I need something pretty big. Thanks. Feel free to email me.
Hey Wendy! Thanks for stopping by. I double checked the link and it’s the exact baskets I have in my laundry room. They’re 17” deep from the front to the wall. The dimensions may seem small but I think they’re a great size. They hold big beach blankets, light bulbs, extra paper towels, etc. I didn’t want them to hang over the front of the shelf so I didn’t go any larger than 17” deep. I hope this helps! Happy Thanksgiving to you! ? ❤️
Oh my goodness, you read my mind w/ you wire shelf cover. Would you mind sharing what type of wood you used? The whole makeover looks amazing! We had to recently replace our laundry room floor due to a mishap and I have an itch to just update the room. Thx!
Hey Kelly! Thank you for your kind comment. I’d love to tell you the type of wood but what I did was just went to the lumber section in Lowe’s and went with the cheapest, thinnest wood I could find. Its only job is to hold the small piece of trim across the front so it can be paper thin. The wire shelf is still in place so that’s what is holding all of the weight. I hope this helps! Have a great Thanksgiving ❤️